
1. Note on brushing [ Must read! ]:
- When the BIOS is flashed, it needs to be plugged in and disconnected in the middle of the session, resulting in a black screen and no boot.
- Make sure that the USB stick is stable and does not come loose during the BIOS flushing process, as interruptions in the middle of the process may result in a black screen and no boot-up.
- Brushing is risky, please proceed with caution.
2.Brush preparation prerequisite.
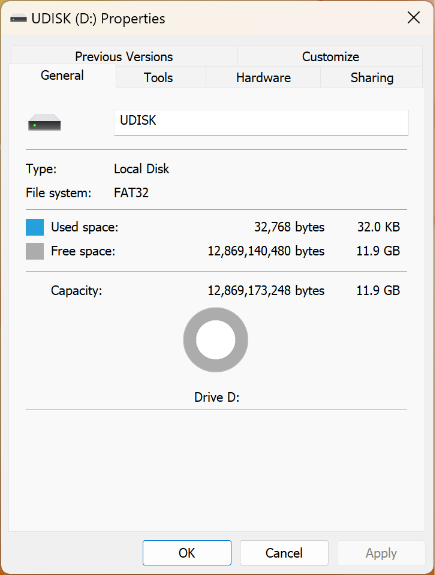
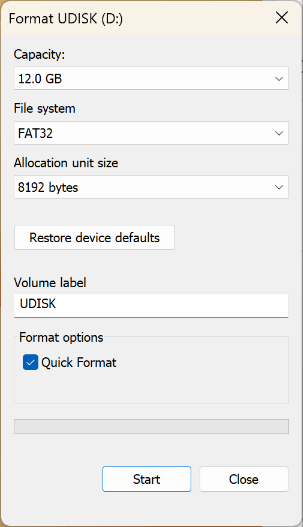
①.Prepare a USB flash drive in FAT32 format. And put the upgrade file into. (U disk format conversion method at the end)
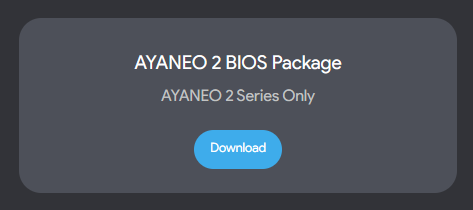
②.Click on Download on the official AYANEO website and select the【AYANEO 2 BIOS Package】to download.
Link to download page:》》》https://ayaneo.com/support/download《《《
③.After downloading, unzip the [AYANEO 2 BIOS Package], double click on the [AYANEO 2 BIOS Package] folder and drag the files inside into the USB stick.
3.Start Brushing
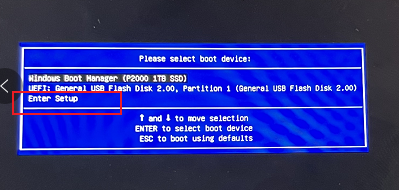
①.Press the Power button and press VOL+ (Volume +) and LC (left shoulder key) at the same time or use the keyboard and press F7 to access the menu.
BIOS interface operation tutorial:》》》Help Link《《《

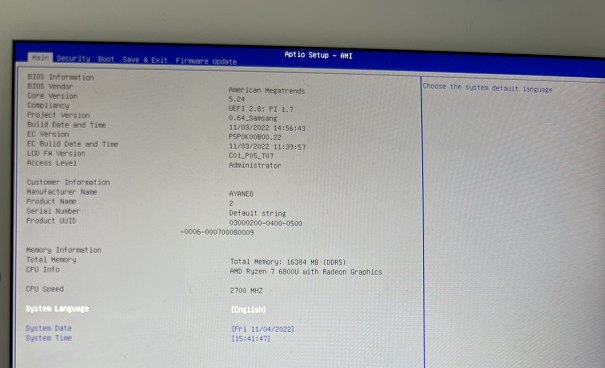
②.Select [Enter Setup] to enter the BIOS interface
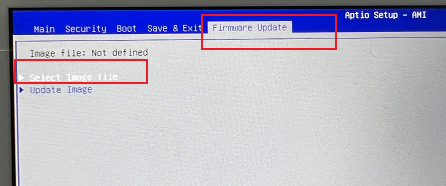
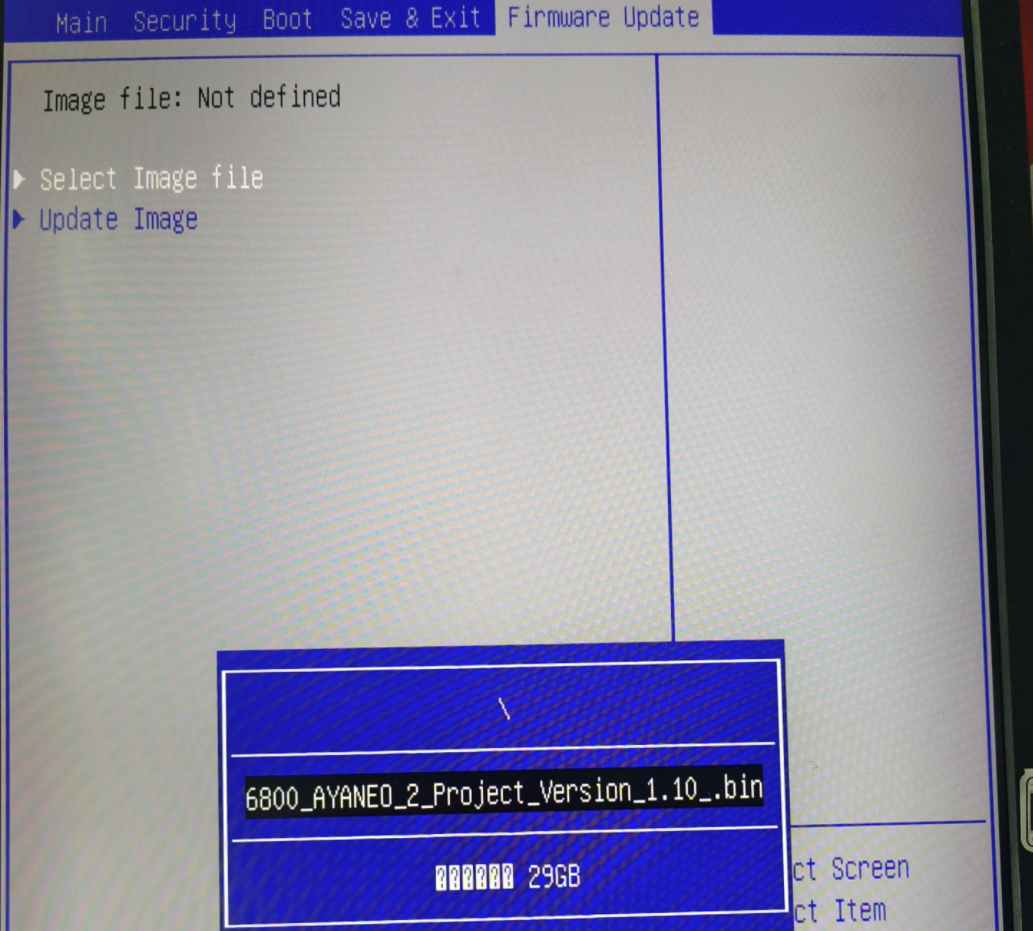
③.Select [Select Image File] under [Firmware Update] in the upper menu bar.
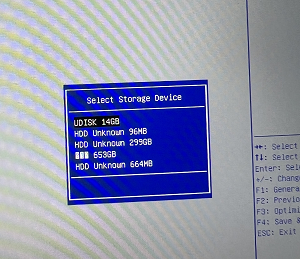
④.Select your USB drive and files.
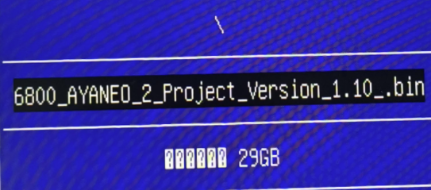
⑤.After selecting, the file path will appear after [Image file], press [Update Image] to start the upgrade.
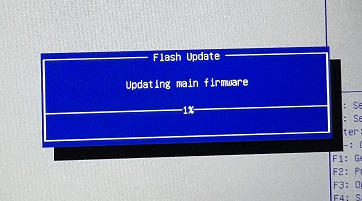
⑥.The Upgrade process appears and waits for completion.
⑦.When this screen appears, the upgrade is complete, press any key to restart.

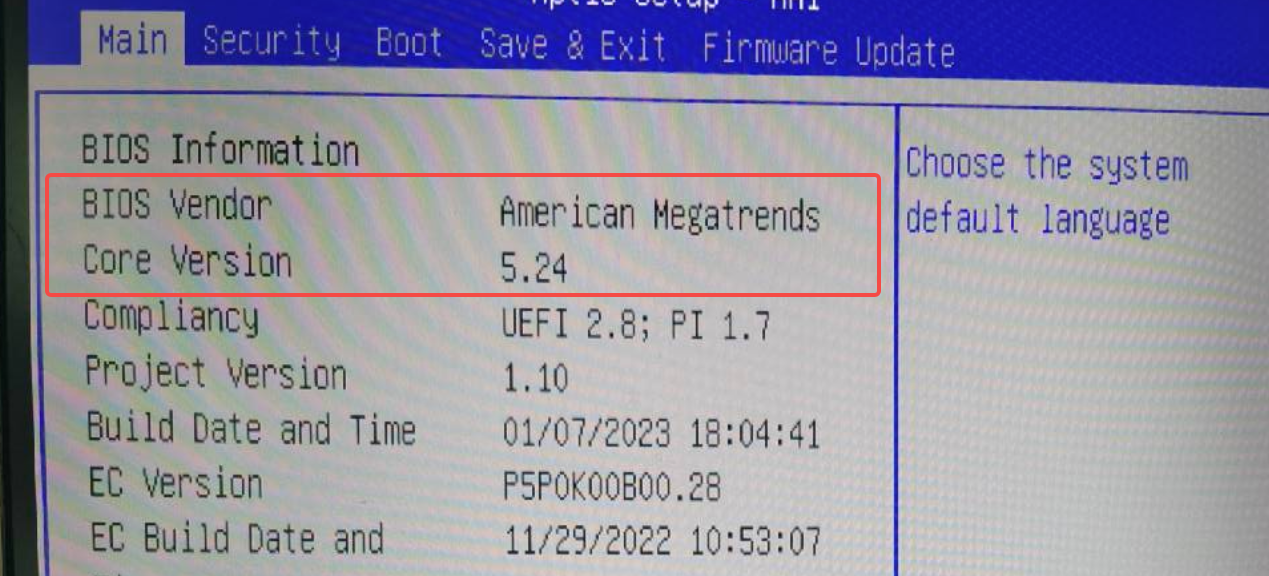
⑧.Shutdown and enter the BIOS screen to check if the version is updated correctly.
4.U Disk format conversion
①.Right click on the USB drive and select Format (Note: this operation will delete all files in the USB drive)

 {/if}
{/if}


Recently Used
My Collection
Emoticons uploaded by everyone
{each $comments as $comment}-
 {if $comment.author.verify_identity}
{/if}
{if $comment.author.verify_identity}
{/if}
{if $comment.reply}
-
{each $comment.reply as $reply}
{/if}
{/each}
{if $comment.is_top}{lang_comment.top}{/if}{$comment.author.username}:{@$comment.content}{if $comment.img}
 {/if}
{/if}
{lang_comment.reply} {$comment.relativeTime} {if settop} {($comment.is_top)?lang_comment.untop:lang_comment.top} {/if} {if $comment.user_id==uid} {lang_comment.delete} {else} {lang_comment.report} {/if} {$comment.liketimes}
{if $reply.touser}{$reply.author.username} {lang_comment.reply} {$reply.touser.username}{else}{$reply.author.username}{/if}:{@$reply.content}{if $reply.img}
 {/if}
{/if}
{/each}